Have you ever wondered how to make your Angular application extensible? | Insights – Reshape Digital
March 25, 2020 by Paul Ionescu

Have you ever wondered how to make your Angular application extensible?
Let’s say you have a base Angular application and in the future you plan to develop different features that have almost the same structure, but you don’t really want to deploy the whole application each time a new feature is ready for production, or, moreover you plan the allow 3rd party users to implement features and upload it into your app.
That kind of system can be achieve in Angular by dynamic loading of external Angular modules into a main application. I’ve read many good articles which explained more deeper this mechanism, but I couldn’t find a whole straight forward solution example that worked out for me.
Gathering all the pieces together from different informational sources I managed to obtain a solution that does the job and in which the plugin applications can use all the angular features. Also, for importing the external modules we just need to know two things about them: their bundle file path and their module name.
What is a Plugin/Pluggable Architecture?
Plugin Architecture or Extensible Application Architecture is mainly based on the Open-Closed Principle [ref. SOLID software design principles] which states that Software entities (classes, modules, functions, etc) should be open for extensions and closed for modification, that means that a plugin is considered a piece of software that extends the functionality of the main application.
Using this approach the core application is assembled by multiple pieces that can extend and enhance it even after it has been compiled and released.
How can we achieve this in Angular?
Goal: Develop an Angular application that loads external independent modules on the fly whenever they are requested and allowing the application to be extended after the code has been compile and released without any modifications to the core application code.
Setup: At this point I assume you have NodeJS installed on your local computer. For building the core application we will use @angular/cli and the plugins will be compiled using rollup.js. Make sure you have those two libraries installed globally, if not, on your NodeJS console run:
npm install @angular/cli -g
npm install rollup -g
Step 1: Create the core application project
Create a folder where we will keep in separate folder the core application and the plugins, let’s call it “angular-plugin-architecture”. Inside this folder, generate the core application using the following command:
ng new core-app
Navigate to core-application project directory and install SystemJS library. We will use this package to import the external modules into our core application.
npm install systemjs
Add systemjs bundle script under the scripts section in your angular.json file.
"scripts": [
    "./node_modules/systemjs/dist/system.js"
]
The main application uses AOT Compilation, but SystemJS requires a JIT compiler when importing modules, therefore, we need to provide the JitCompilerFactory to the browser using the following code in our app.module.ts file.
import { COMPILER_OPTIONS, CompilerFactory, Compiler, NgModule } from '@angular/core';
import { JitCompilerFactory } from '@angular/platform-browser-dynamic';
import { BrowserModule } from '@angular/platform-browser';
import { AppComponent } from './app.component';

export function createCompiler(fn: CompilerFactory): Compiler {
    return fn.createCompiler();
}

@NgModule({
    declarations: [AppComponent],
    imports: [BrowserModule],
    providers: [
        {
            provide: COMPILER_OPTIONS,
            useValue: {},
            multi: true,
        },
        {
            provide: CompilerFactory,
            useClass: JitCompilerFactory,
            deps: [COMPILER_OPTIONS],
        },
        {
            provide: Compiler,
            useFactory: createCompiler,
            deps: [CompilerFactory],
        },
    ],
    bootstrap: [AppComponent],
})
export class AppModule {}
Step 2: Create a plugin project
Inside the “angular-plugin-architecture” folder let’s create a folder named “plugins” and inside that one create a folder named “plugin-a”. Now we have an organized folder structure and we are ready to setup our plugin app.
In the “plugin-a” folder create a package.json file having the following structure.
{
    "name": "plugin-a",
    "version": "1.0.0",
    "license": "MIT",
    "scripts": {
        "build": "rollup -c"
    },
    "dependencies": {
        "@angular/common": "5.2.0",
        "@angular/core": "5.2.0",
        "rollup": "0.55.1",
        "rxjs": "5.5.6"
    },
    "devDependencies": {
        "rollup-plugin-angular": "^0.5.3",
        "rollup-plugin-commonjs": "8.3.0",
        "rollup-plugin-node-resolve": "3.0.2",
        "rollup-plugin-typescript": "0.8.1",
        "rollup-plugin-typescript2": "0.10.0",
        "typescript": "2.5.3"
    }
}
Run npm install inside the folder.
Make sure you create a tsconfig.json file inside the plugin-a folder.
{
    "compileOnSave": false,
    "compilerOptions": {
        "baseUrl": "./",
        "outDir": "./dist/out-tsc",
        "sourceMap": true,
        "declaration": false,
        "module": "es2015",
        "moduleResolution": "node",
        "emitDecoratorMetadata": true,
        "experimentalDecorators": true,
        "target": "es5",
        "typeRoots": ["node_modules/@types"],
        "lib": ["es2017", "dom"]
    }
}
To keep an angular structure of the project create src/app folders inside plugin-a and then a simple component file.
import { Component } from '@angular/core';

@Component({
    selector: 'plugin-a-component',
    template: `<h3>Hi, I am the Plugin A component.</h3>`,
})
export class PluginAComponent {
    constructor() {}
}
Now let’s create and configure our plugin module file.
import { NgModule } from '@angular/core';
import { CommonModule } from '@angular/common';
import { PluginAComponent } from './plugin-a.component';

@NgModule({
    imports: [CommonModule],
    declarations: [PluginAComponent],
    entryComponents: [PluginAComponent],
    providers: [
        {
            provide: 'plugins',
            useValue: [
                {
                    name: 'plugin-a-component',
                    component: PluginAComponent,
                },
            ],
            multi: true,
        },
    ],
})
export class PluginAModule {}
Let’s dig deeper into the PluginAModule structure. Nothing fancy about the imports and declarations, but on the providers section we declared a custom provider named ‘plugins’ and we associated it with an array of objects. You can add multiple properties to it if you want and all of that can be accessed in the core application, but for this example let’s stick with name (optional) and component (exported component declaration). We will get the ‘plugins‘ provider after loading the module and use its values in the core application to load the components.
Note: You can provide multiple objects to a custom provider and load their declared components separately. Also, all the components loaded into the provider must be declared in the entryComponents section.
Under src folder create the main.ts file which will export the PluginAModule.
export { PluginAModule } from './app/plugin-a.module';
The final step in the plugin project is creating a rollup.config.js file to the plugin-a folder which will describe the rollup bundle configurations.
import angular from 'rollup-plugin-angular';
import resolve from 'rollup-plugin-node-resolve';
import typescript from 'rollup-plugin-typescript2';
import commonjs from 'rollup-plugin-commonjs';

export default [
    {
        input: 'src/main.ts',
        output: {
            file: '../../core-app/src/assets/plugins/plugin-a.bundle.js',
            format: 'umd',
            name: 'plugin-a',
        },
        plugins: [
            angular(),
            resolve({
                jsnext: true,
                main: true,
                // pass custom options to the resolve plugin
                customResolveOptions: {
                    moduleDirectory: 'node_modules',
                },
            }),
            typescript({
                typescript: require('typescript'),
            }),
            commonjs(),
        ],
        external: ['@angular/core', '@angular/common'],
    },
];
I won’t go in details about the rollup.config.js file, but I would mention that the output.file is the path and the name for the bundle that will be created and in the external section are declared the libraries that we do not want to be bundled in our file. You can find more about rollup.js here.
Run npm run build and navigate to core-app/src/assets/plugins to see the plugin-a.bundle.js file.
Step 3: Import the external plugin bundle into the core application
In the core application’ s main.ts file we would need to set the existing vendor modules into SystemJS registry. This way SystemJS won’t make HTTP requests to fetch the imported modules.
declare const SystemJS;
import * as angularCore from '@angular/core';
import * as angularCommon from '@angular/common';
SystemJS.set('@angular/core', SystemJS.newModule(angularCore));
SystemJS.set('@angular/common', SystemJS.newModule(angularCommon));
Note: You would like to set here all the modules that are imported in the plugin applications and declared as external in the rollup.config.js file.
Now the magic of importing external modules. Open your app.component.ts and let’s code the following.
import { AfterViewInit, Component, Compiler, Injector, ViewChild, ViewContainerRef } from '@angular/core';

declare const SystemJS: any;

@Component({
    selector: 'app-root',
    template: '<div #content></div>',
})
export class AppComponent implements AfterViewInit {
    @ViewChild('content', { read: ViewContainerRef }) content: ViewContainerRef;

    constructor(
        private _compiler: Compiler,
        private _injector: Injector,
    ) {}

    ngAfterViewInit() {
        this.loadPlugins();
    }

    private async loadPlugins() {
        // import external module bundle
        const module = await SystemJS.import('assets/plugins/plugin-a.bundle.js');

        // compile module
        const moduleFactory = await this._compiler.compileModuleAsync<any>(module['PluginAModule']);

        // resolve component factory
        const moduleRef = moduleFactory.create(this._injector);

        //get the custom made provider name 'plugins'
        const componentProvider = moduleRef.injector.get('plugins');

        //from plugins array load the component on position 0
        const componentFactory = moduleRef.componentFactoryResolver.resolveComponentFactory<any>(componentProvider[0][0].component);

        // compile component
        var pluginComponent = this.content.createComponent(componentFactory);

        //sending @Input() values
        //pluginComponent.instance.anyInput = "inputValue";

        //accessing the component template view
        //(pluginComponent.hostView as EmbeddedViewRef<any>).rootNodes[0] as HTMLElement;
    }
}
That’s all you need to do to import an external module in Angular. Let’s go through each line. Firstly, we imported the module from the specified location of the bundle file using SystemJS, we compiled the module using the compiler, which we previously provided with the JitCompilerFactory in our app.module.ts, we created an injector in the module, in order to retrieve the custom made provider named ‘plugins’ and then using the componentFactoryResolver we’ve got the componentFactory from our plugins provider. Lastly, we created the component in the ‘content’ ViewContainerRef and voila 🎆 our external module is loaded in our core application.
You can see that I’ve added few comments on how you can pass an input parameter to the external component and how you can extract only the HTMLElement of the component and then inject it wherever you like in your core app template.
Run npm start and navigate to http://localhost:4200 and you should see the template from the plugin-a component. 😏
Final thoughts
What I’ve described in this article is a quick intro in doing a plugin architecture in Angular. It’s a quick start guide and, of course, it will be more professional to get the path of the modules and their names through a http call from a configuration file or database and load all the saved modules async.
I consider this to be a powerful feature and could have multiple benefits from allowing third party users to implement features to having a dynamic deploy of some new components/features of a main application.
GitHub Repo: https://github.com/ionepaul/angular-plugin-architecture
More Insights
We write about what we build, how we think, and the decisions that shape real digital products.

Reshape Digital at London Tech Week
From healthcare to venture capital, we met with industry leaders across London Tech Week to explore AI, innovation, and the future of digital transformation. See what we learned, and where we’re heading next.

Reshape Digital at the London AI Summit
At the London AI Summit, we explored the enterprise future of generative AI, from data governance to fast-impact use cases in HR and customer service. Get our key takeaways from the front lines of AI adoption.

PoC for AI-Powered Drone Solution for Smarter Energy Grid Inspection | Insights – Reshape Digital
At the Energy Expo Cleantech Hackathon in Bucharest, Reshape Digital unveiled an AI-powered autonomous drone platform that redefines power grid inspection. The innovative solution earned a Special Mention for its impact on energy and sustainability.
Tokenizing Renewable Energy for a More Accessible Green Future | Insights – Reshape Digital
GreenVestX is a blockchain-based platform introduced at the Energy Expo Hackathon, designed to democratize renewable energy investments through tokenization. It empowers individuals to co-own and benefit from green energy.

The Role of Vector Database in Modern Data Management | Insights – Reshape Digital
It’s 2024 and vector databases are stepping out of the shadows and into the spotlight, marking a significant technological breakthrough. But what exactly is a Vector Database and why would anyone need it?
Three Years of Reshape Digital | Insights – Reshape Digital
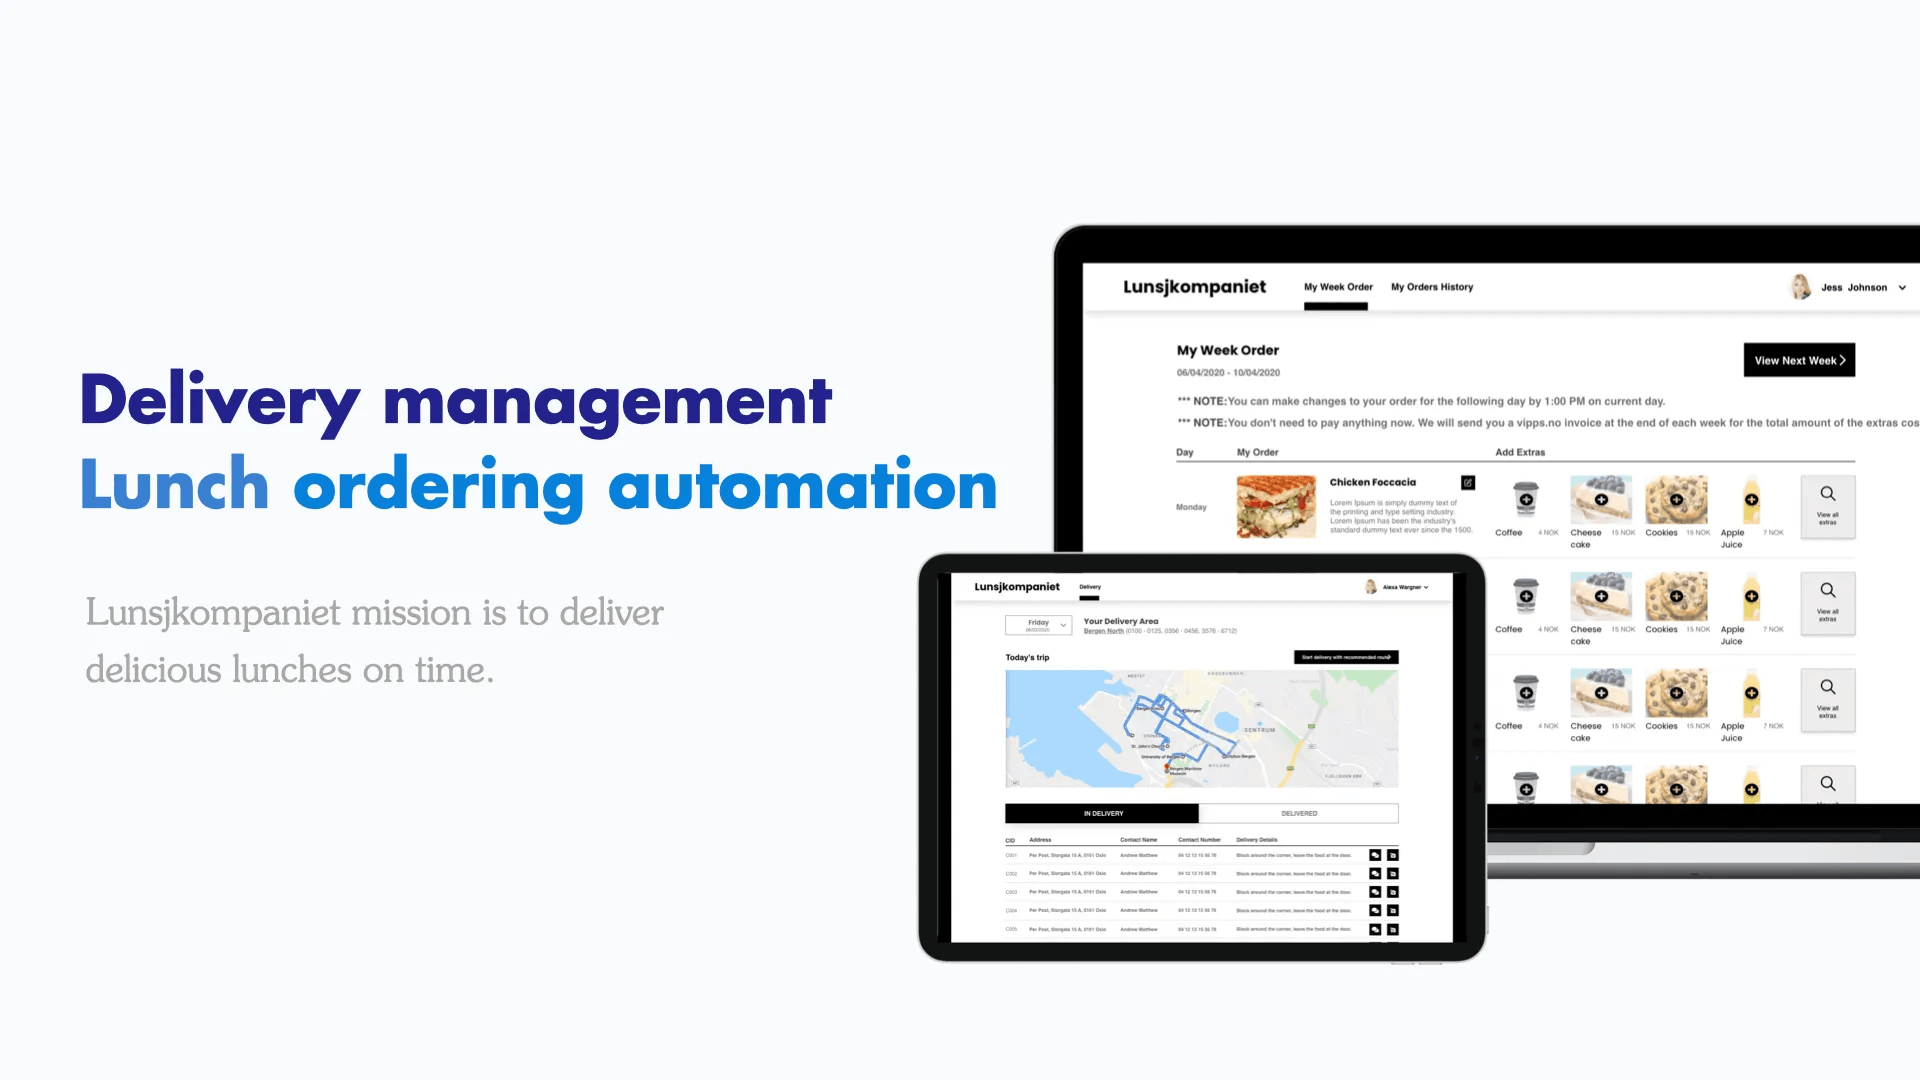
Paul Ionescu reflects on the three-year journey of Reshape Digital, from its humble beginnings with the first project, Lunsjkompaniet, to overcoming challenges like the pandemic and expanding into a thriving community of twenty colleagues.

How to develop a .NET Core 3.1 API secured with Identity Server 4 — Part 2 | Insights – Reshape Digital
Creating the API with Swagger integration and securing it using the Identity Server built in Part 1. Learn to configure authentication, authorization, and token-based access for your endpoints with real-world examples.

How to develop a .NET Core 3.1 API secured with Identity Server 4 — Part 1 | Insights – Reshape Digital
Dive into developing a .NET Core 3.1 API with Swagger, secured by Identity Server 4. This first part focuses on setting up the Identity Server project, including configuration and operational stores with SQL Server.
7 Essential things to think about when building an API | Insights – Reshape Digital
Security, architecture, testing, logging, documenting, versioning, caching, these seven components are critical for building a sustainable and scalable API. Here’s what you should consider from the very beginning.