How to develop a .NET Core 3.1 API secured with Identity Server 4 — Part 2 | Insights – Reshape Digital
October 15, 2020 by Paul Ionescu
Creating the API with Swagger integration and secure it with the Identity Server built in Part 1
Most modern web applications are backed by a web API (Application Programming Interface) which interacts with one or multiple databases. Of course, you don’t want anyone to call your API, that’s why you need to built a way to restrict or allow access to your endpoints. In the first part of this series, we’ve went over building an Identity Server which will facilitate the security of the API we are building together during this article.

As a first step, let’s open up the “dotnet-api-with-identity-server” solution and create a new .NET Core API project name “my-fancy-api”. If you are new to this series, you’ll find the solution referenced above at the following link: https://github.com/ionepaul/dotnet-api-with-identity-server
We have our new API now, but we need some NuGet packages to help us around with the IdentityServer token validation and with the swagger interface. Open NuGet package manager and install IdentityServer4.AccessTokenValidation (3.0.1) — facilitates the authentication handling and references tokens from IdentityServer4, Swashbuckle.AspNetCore (5.6.3), Swashbuckle.AspNetCore.Swagger (5.6.3) — the first one si mainly for documenting the .NET Core APIs, whereas the second one is a middleware to expose Swagger JSON endpoints from APIs, Microsoft.Extensions.Platform.Abstractions (1.1.0) — used for getting the application based path for reading the xml documentation file. NOTE: The versions written above are the latest versions at the time of writing this article.
Let’s jump on writing some code now. We will start by registering the authentication and authorization in the API pipeline.
public void ConfigureServices(IServiceCollection services)
{
    services.AddControllers();

    services.AddAuthentication("Bearer")
            .AddIdentityServerAuthentication(options =>
            {
                options.Authority = "https://localhost:44306";
                options.RequireHttpsMetadata = false;
                options.ApiName = "my-api";
            });

    services.AddAuthorization();
}
In the ConfigureServices method of the Startup.cs class, we have setup our authentication to be “Bearer” authentication and used the IdentityServer service collection extension method to register the IdentityServer application which is responsible for our API. The Authorithy property must be the base link of the identity server, whereas the ApiName must be our API name. This needs to match what we set in Identity Server ApiResources entry. Lastly, we have configured basic authorization, then as seen below we added authentication in the Configure method just after the routing.
public void Configure(IApplicationBuilder app, IWebHostEnvironment env)
{
    ...

    app.UseRouting();

    app.UseAuthentication();

    app.UseAuthorization();

    ...
}
It’s time for us to start configure swagger in the Startup.cs class.
public void ConfigureServices(IServiceCollection services)
{
    ....

    services.AddSwaggerGen(options =>
    {
        options.AddSecurityDefinition("My Security Definition", new OpenApiSecurityScheme
        {
            Type = SecuritySchemeType.OAuth2,
            BearerFormat = "JWT",
            In = ParameterLocation.Header,
            OpenIdConnectUrl = new Uri($"https://localhost:44306/.well-known/openid-configuration"),
            Flows = new OpenApiOAuthFlows
            {
                ClientCredentials = new OpenApiOAuthFlow
                {
                    AuthorizationUrl = new Uri($"https://localhost:44306/connnect/authorize"),
                    TokenUrl = new Uri($"https://localhost:44306/connect/token"),
                    Scopes = new Dictionary<string, string>
                    {
                        { "write", "the right to write" },
                        { "read", "the right to read" }
                    }
                 }
             }
         });

         var filePath = Path.Combine(PlatformServices.Default.Application.ApplicationBasePath, "my-fancy-api.xml");

         options.IncludeXmlComments(filePath);
    });
}
In the AddSwaggerGen extension method provided by Swagger, we have defined our custom security definition named “My Security Definition” as an OpenApiSecurityScheme. Then, we setup the type, format and we have specified where the token will be sent (“In = ParametersLocation.Header”). Last step before configuring the flows is to provide the OpenIdConnectUrl of our Identity Server. Defining the flows is straight forward, here we tell Swagger what security flows we have defined for our API. In this case, we only have Client Credentials flow and that’s what we have setup, by simply providing the Authorization and Token URL of our Identity Server and mentioning the scopes available. NOTE: The scopes name must match the scopes configured in the Identity Server for our API resource. At the end of Swagger Gen options we included all the XML comments of the application in our swagger interface. For generating the XML comments file you need to right click on “my-fancy-api” project, go to Properties > Build and in the Output section check “XML documentation file”.
As you probably knew already, there’s one more thing and that is adding the Swagger and Swagger UI to the Configure method.
public void Configure(IApplicationBuilder app, IWebHostEnvironment env)
{
    ...

    app.UseSwagger();

    app.UseSwaggerUI(options => {
      options.SwaggerEndpoint($"/swagger/v1/swagger.json", "V1");
    });
}
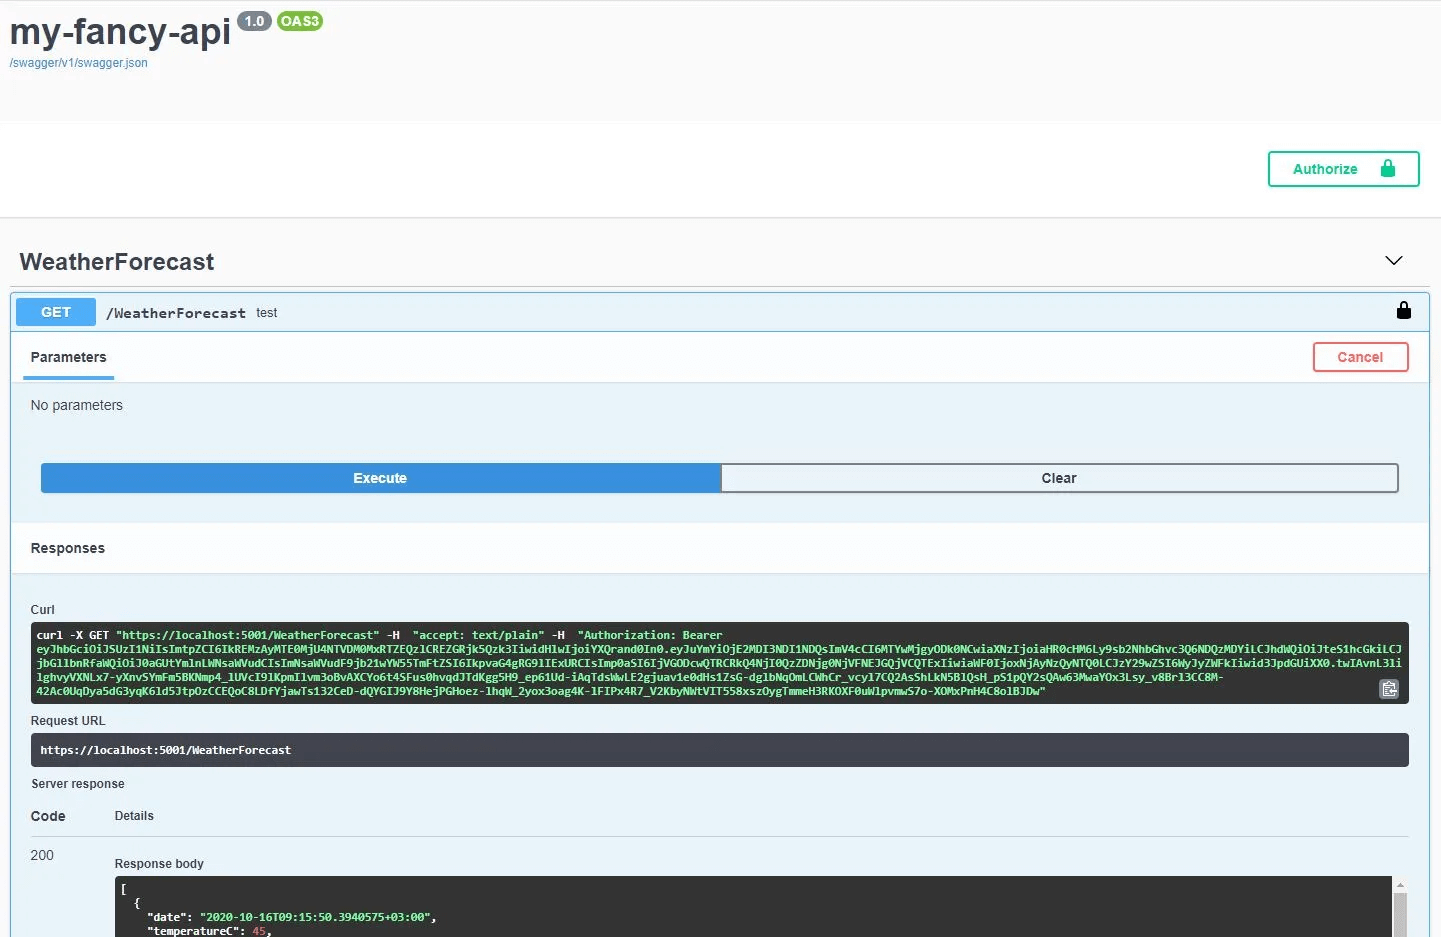
At this point we are pretty much good to go. We can start the Identity Server then our fancy API and navigate to /swagger and we will see the nice and flashy Swagger Interface. We will try to authorize with our client, the one setup in the Identity Server. Some of you whom started the project on IIS Server will get an error saying “Failed to fetch” and might wonder what we did wrong. Though, if we look at the Config.cs file in the Identity Server we can spot that we have setup the allowed origins for our client to be “https://localhost:5001”, so if we try to call the Identity Server with this client from other URL we get a “Failed to fetch error” in swagger. Pretty cool right?
Now, let’s select the API to launch with the “my-fancy-api” profile instead of “IIS Express” in visual studio. We can also setup the port on which IIS Express starts from Properties > launchSettings.json where all the application profiles are defined. One more nice thing to do is to setup the launchUrl for each profile to be “swagger”, this will launch our API directly with the swagger interface.
Smooth…all things in place right? We launch our API, we see the Swagger UI and we can successfully authenticate with our client and secret. Though, if we call our weather forecast endpoint and we closely look at the request we can see that the token is not passed in the header, which means that if we secure this endpoint we will get a 401 Unauthorized error. How so? That’s because we didn’t configured swagger to pass the access token in the authorization header.
For developing the swagger authentication handler, we will create a new folder under our fancy api named “Swagger”, then under it a class named “SwaggerAuthenticationRequirementsOperationFilter”.
public class SwaggerAuthenticationRequirementsOperationFilter : IOperationFilter
{
    public void Apply(OpenApiOperation operation, OperationFilterContext context)
    {
        if (operation.Security == null)
        {
            operation.Security = new List<OpenApiSecurityRequirement>();
        }

        var scheme = new OpenApiSecurityScheme { Reference = new OpenApiReference { Type = ReferenceType.SecurityScheme, Id = "My Security Definition" } };

        operation.Security.Add(new OpenApiSecurityRequirement
        {
            [scheme] = new List<string>()
        });
    }
}
This class implements the IOperationFilter interface and this basically registers our security scheme on each OpenApiOperation. NOTE: The OpenApiReference Id must match our security definition name, in this case “My Security Definition”.
Since we have the operation filter ready, let’s add it into the swagger gen options.
public void ConfigureServices(IServiceCollection services)
{
      ...

      services.AddSwaggerGen(options =>
      {
            options.OperationFilter<SwaggerAuthenticationRequirementsOperationFilter>();

            ...
      });
}
Authorize the weather forecast endpoint and start the Identity Server and the Fancy API. We can authenticate with your client and call the endpoint succesfully and the token is clearly visible in the request header.
We do have now a fancy API with swagger interface secured by our Identity Server, but there’s further improvements that we can do to make it more robust and clean. In the next part of this journey we will move most of our hard-coded settings and links to the appSettings.json file, we will create scope based authorization for our client and we will configure versioning for our API. Stay tuned!
GitHub Repo: https://github.com/ionepaul/dotnet-api-with-identity-server
More Insights
We write about what we build, how we think, and the decisions that shape real digital products.

Reshape Digital at London Tech Week
From healthcare to venture capital, we met with industry leaders across London Tech Week to explore AI, innovation, and the future of digital transformation. See what we learned, and where we’re heading next.

Reshape Digital at the London AI Summit
At the London AI Summit, we explored the enterprise future of generative AI, from data governance to fast-impact use cases in HR and customer service. Get our key takeaways from the front lines of AI adoption.

PoC for AI-Powered Drone Solution for Smarter Energy Grid Inspection | Insights – Reshape Digital
At the Energy Expo Cleantech Hackathon in Bucharest, Reshape Digital unveiled an AI-powered autonomous drone platform that redefines power grid inspection. The innovative solution earned a Special Mention for its impact on energy and sustainability.

Tokenizing Renewable Energy for a More Accessible Green Future | Insights – Reshape Digital
GreenVestX is a blockchain-based platform introduced at the Energy Expo Hackathon, designed to democratize renewable energy investments through tokenization. It empowers individuals to co-own and benefit from green energy.

The Role of Vector Database in Modern Data Management | Insights – Reshape Digital
It’s 2024 and vector databases are stepping out of the shadows and into the spotlight, marking a significant technological breakthrough. But what exactly is a Vector Database and why would anyone need it?
Three Years of Reshape Digital | Insights – Reshape Digital
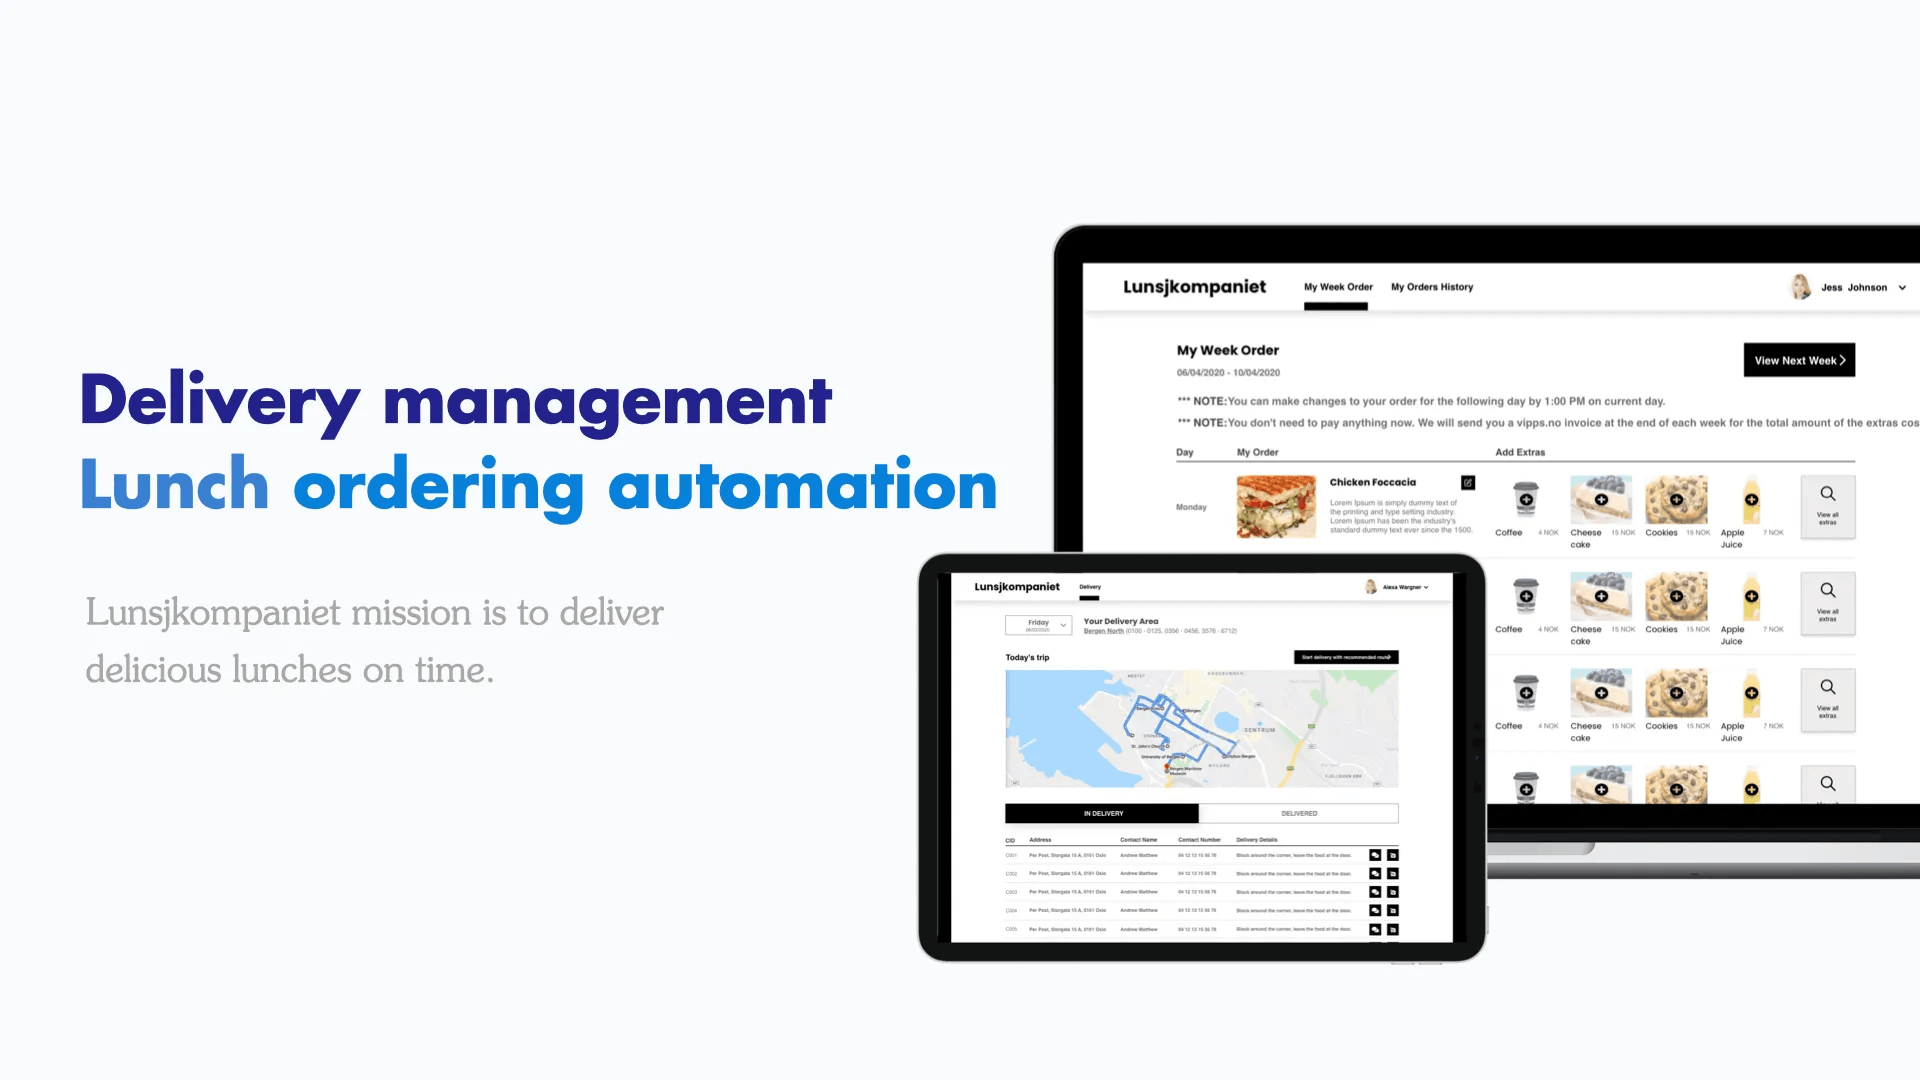
Paul Ionescu reflects on the three-year journey of Reshape Digital, from its humble beginnings with the first project, Lunsjkompaniet, to overcoming challenges like the pandemic and expanding into a thriving community of twenty colleagues.

How to develop a .NET Core 3.1 API secured with Identity Server 4 — Part 1 | Insights – Reshape Digital
Dive into developing a .NET Core 3.1 API with Swagger, secured by Identity Server 4. This first part focuses on setting up the Identity Server project, including configuration and operational stores with SQL Server.

7 Essential things to think about when building an API | Insights – Reshape Digital
Security, architecture, testing, logging, documenting, versioning, caching, these seven components are critical for building a sustainable and scalable API. Here’s what you should consider from the very beginning.

Have you ever wondered how to make your Angular application extensible? | Insights – Reshape Digital
Learn how to build a plugin-based Angular architecture where external modules can be loaded dynamically at runtime, enabling feature decoupling, faster deployments, and even third-party extensibility.